Sound Mixing for Video: Why Layered Music Ducks Better
How to Mix Sound for Video — and Why Your Music Choice Decides How Hard It Is
Mixing sound for video means setting each track to a level where the audience hears everything clearly and never notices the mix. The standard targets: dialogue averaging around -12 dB, music ducked to roughly -18 to -25 dB under voice, and sound effects between -12 and -18 dB but never louder than the dialogue. Get those relationships right and a muddy clip turns clean.
We watched a genuinely useful breakdown of exactly this and wanted to credit it, summarise what it teaches, and add our own take on the part nobody mentions: the music you start with decides how hard the mix is.
The Breakdown We’re Building On
The video is How to Mix Sound for Video in Adobe Premiere Pro by Kelsey at Premiere Gal. It’s a clear, no-nonsense walkthrough of mixing a real timeline — dialogue, music, and sound effects — using Premiere’s Audio workspace and Essential Sound panel. If you mix in Premiere, watch the whole thing; she shows the meters, the keyframes, and a before/after that makes the point better than any paragraph can.
She doesn’t mention us, and the mixing craft she teaches is universal — it works no matter where your music comes from. What we’re adding below is the music-side perspective: how the kind of music you drop on the timeline makes her technique either a fight or a five-minute job.
Dialogue First, at Around -12 dB
The video’s first rule: mix one track at a time, and start with the voice. Tag your clips as Dialogue in the Essential Sound panel, run Auto-Match to pull loudness toward broadcast standard, and aim for an average near -12 dB — it will drift above and below, and that’s normal. Mute everything else while you work.
Our commentary: this order matters because dialogue is your anchor. Every other level is set relative to the voice, not in isolation. She also flags a real trap — pushing Reduce Noise too hard hollows out the voice. The same restraint applies to music: the more your music asks for, the less room the voice has. A clean dialogue track plus crowded music is still a bad mix. Set the voice, protect it, then build everything around it.
Ducking: The Technique That Makes or Breaks the Mix
Ducking is automatically dipping the music whenever the voice speaks, then letting it rise back up in the gaps. In Premiere you tag the music track as Music, enable Ducking against Dialogue, and generate keyframes — the music drops to roughly -18 to -25 dB under speech and comes back up on a logo reveal or an intro sting. You can hand-edit the keyframes or drop an Exponential Fade on the tail for a clean fade-out.
This is the heart of the video, and it’s solid. Here’s the part the tool can’t fix, though: ducking only changes the volume of the music. It can’t change what the music is doing. If your track has a busy melody and a bright vocal-range hook playing right where your narrator talks, turning it down 10 dB just makes a muddy clash quieter. The frequencies still collide. You end up fighting a finished song instead of mixing it.
Why Layered, One-Key Music Ducks Cleaner
Layered music means your cue arrives as separate building blocks instead of one bounced file: a low foundation (drones, pads, textures), a mid layer (rhythmic loops, chord progressions), a top layer (melodies and signature phrases), and bonus elements like risers and impacts. Because the layers are built in one key, you can remove or add any of them without the cue clashing.
That changes everything about ducking. Under dialogue, you don’t just lower volume — you thin the arrangement. Pull the melody and keep the pad and a soft pulse. The voice now sits in clear space instead of fighting a hook for the same frequencies. When the narration stops and the logo lands, bring the top layer back and let the cue bloom. That’s a tonal mix, not a volume war. This is what we mean by tonal sounds for video editing — music designed to be reshaped moment to moment.
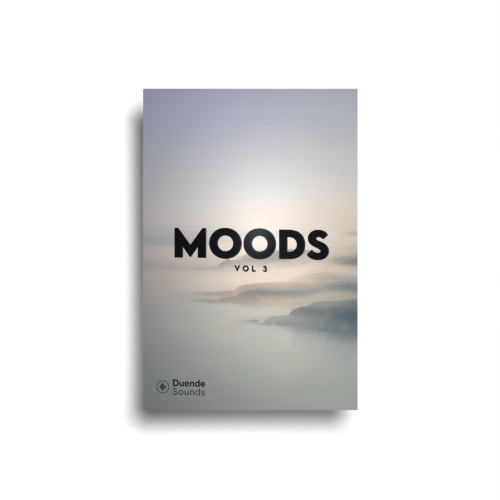
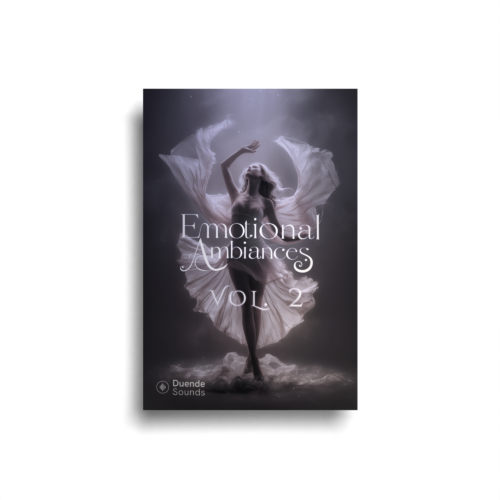
Every layer you’re mixing here is pulled straight from our Moods and Emotional Ambiances series — finished cues you can also break down into stems. Press play, then hit New mix to reshuffle; it all stays in one key, so the layers never clash.
Grab the packs the mixer is pulling from:

A Duende Soundtrack Kit ships exactly these layers, every sound tagged by key and tempo so they stack without clashing. You audition and combine them in the free desktop app, then drag plain WAV or MP3 into Premiere, Resolve, or Final Cut. The ducking step Kelsey teaches still applies — it just has far less to do, because the arrangement is already getting out of the voice’s way.
Sound Effects: Mix Each One, Keep Them Invisible
The video’s SFX advice is precise: aim for about -12 to -18 dB, never louder than the dialogue, and mix every effect individually — a whoosh, a pop, and a logo hit all land at different levels, so go clip by clip. The guiding principle she repeats is the best line in the whole video: good sound editing is invisible. If a level jump makes the viewer think “what was that?”, it pulled them out of the story.
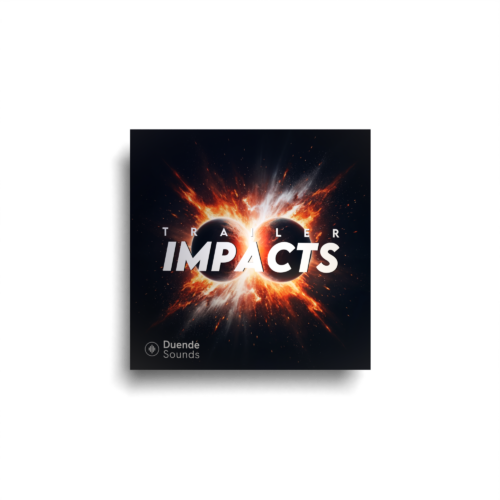
Our extension: SFX are the punctuation of your mix, and clean, production-ready ones get to invisible faster. Cinematic Whooshes for transitions and Trailer Impacts for the logo hit arrive pre-shaped, so your per-clip level pass is a quick nudge rather than a rescue. And when an impact is in the same key as your kit, it doesn’t just punctuate — it lands musically. That’s a hit you feel but never notice.
Reach for these kits to build it:


A Mixing Workflow That Starts Before the Mix
Put it together and the workflow is simple. Record a clean voice close to the mic. Set dialogue to an average around -12 dB and protect it. Then, instead of dropping a finished song and clawing it back down with keyframes, build your cue from layers — thin under voice, full in the gaps. Add SFX clip by clip, never above the dialogue. Finish with fades so nothing cuts hard.
The before/after at the end of Kelsey’s video proves the levels matter. Our point is that the source material matters just as much: a mix is only as easy as the music will allow. Layered, one-key building blocks hand you the dynamics before you touch a single keyframe — which means the invisible mix she’s chasing is the default, not a battle.
Free Layer Starter: 4 cinematic cues + every layer
Want to feel how layered scoring works before you buy anything? Grab our free Layer Starter — four finished cues from our Moods and Emotional Ambiances series, each broken out into all its individual layers, so you can stack, mute, and reshape them in your own edit. Everything’s in one key. Pop in your email and it’s yours.
Frequently asked questions
What level should dialogue sit at when mixing video?
What is audio ducking and why does it matter?
Why does layered music make ducking easier?
What level should sound effects be in a video mix?
What is a Duende Soundtrack Kit?
Can I use Duende sounds in Premiere Pro and DaVinci Resolve?
Watch the full mixing breakdown on Premiere Gal, nail your dialogue and ducking levels, and when you want music that gets out of the voice’s way on its own, browse the kits and start building.